THE BEST ROUTER TRICK I KNOW - MAKING PICTURE FRAMES WITH REGULAR ROUTER BITS
Router bits aren't cheap. I think that's why a lot of folks just use the same one or two profiles on every project. Those are simply the bits in their set, and they don't have the budget to buy a fancy, complex profile bit just to make one project.
But early on in my woodworking career I learned a skill that saved me a lot of money, and made my projects look much more professional: how to create beautiful, complex profiles for trim, mouldings and even picture frames without buying expensive, dedicated bits.
This is done with a process called profile stacking, and once you learn it you will have the ability to create pretty much any profile you can imagine.
What is Profile Stacking?
Profile stacking allows you to create intricate and beautiful profiles for trim, moldings, and picture frames using just a few common router bits. Contrary to popular belief, you don't need specialized bits for every unique design. In the recent video seen above, I demonstrated how to combine basic router bits to create complex moldings. In this post, I’ll share how to apply these techniques specifically to picture frames, taking your woodworking to the next level.
Reframe Your Thinking
First, you have to change the way you look at picture frames. They don't have to be cut from a single solid piece of wood. Many years ago, I saw an eye-opening article in Woodsmith Magazine that illustrated that point. The frames we'll be making today are my own modified versions of those. Not only did I change the steps required to make some of them, but I modified most of the profiles so that they may be made with common 3/4" thick wood, which you can buy in any home center. Let's get started.
Frame 1: Creating Depth with Layering
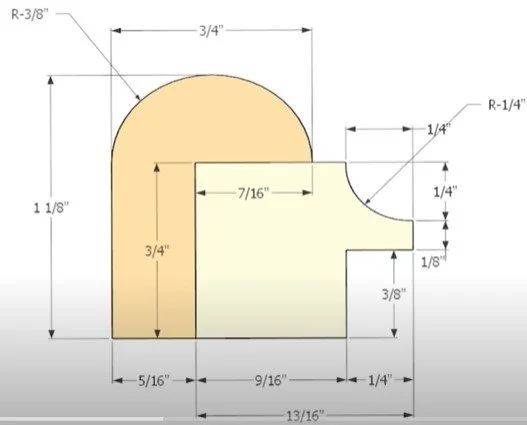
This first frame illustrates how layering can be used to add depth. By standing one layer on edge and laying another flat, we can create the illusion of a thicker frame.
Start with a Round-Over Bit: Use a 3/8" round-over bit to create a bullnose profile on a wide piece of stock. Working with wider wood is safer and easier than routing thin strips. Whenever possible, work wide, then trim off the narrow profile after it's routed.
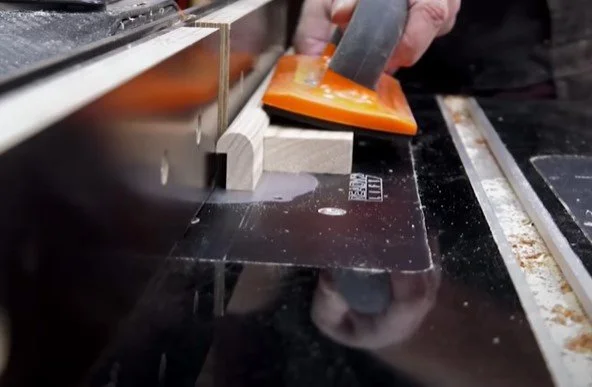
Attach Scrap for Routing: If you need to work with narrower pieces, attach a scrap piece to the edge using pressure-sensitive double-sided tape. This gives you a secure hold while routing a rabbet on the back edge.
Multiple Passes for Safety: I cut the rabbet in two or three passes. It's always better to remove a lot of material incrementally, rather than making one deep cut in a single pass.
Then I cut another rabbet, again working with wide stock when I can. Finally I finish the profile with a 1/4" core box bit before trimming my strip from the wider workpiece.
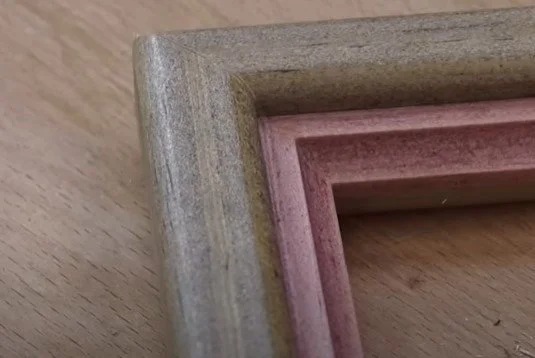
Finishing Touches: Before I glued my two layers together I used some stain to add some visual interest. We'll talk more about staining later.
Frame 2: Expanding Width and Adding Chamfers
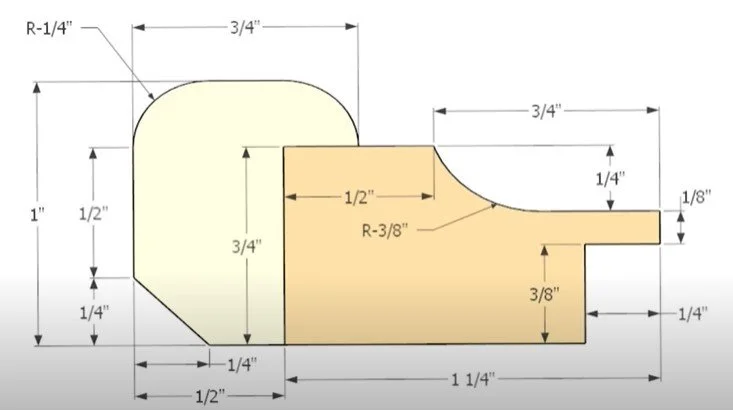
This next frame takes the layering principal a step farther. By stretching the inner layer, we create width in addition to depth. And you may notice a chamfer on the lower left corner. That helps the frame look thinner when viewed on the side, while still looking deep when viewed straight on.
Start with a 1/4" Round-Over Bit: This frame also begins with a bull-nose, I use a 1/4" roundover bit, leaving a flat in between to make the finished profile look a bit blunter. Again, I do as much of the cutting as possible before I trim the moulding from the wider workpiece.
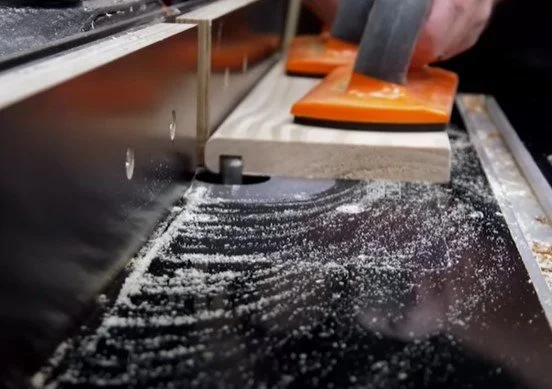
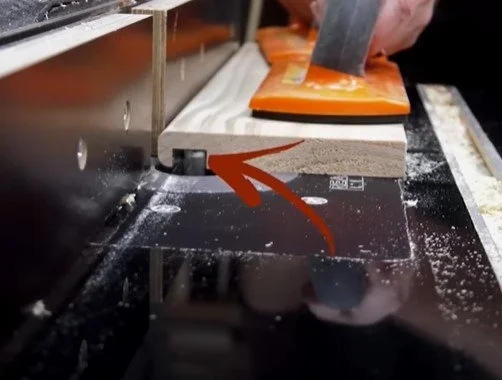
Widen the Rabbet Carefully: Next, I cut a rabbet with a straight bit, widening it with multiple passes. As I do, I move the fence AWAY from the bit. That is critical! Never widen a groove by moving the fence toward the bit for the second pass. That will cause the bit to cut with its back side, which is a very dangerous climb-cut. Always cut with the side of the bit facing away from the fence.
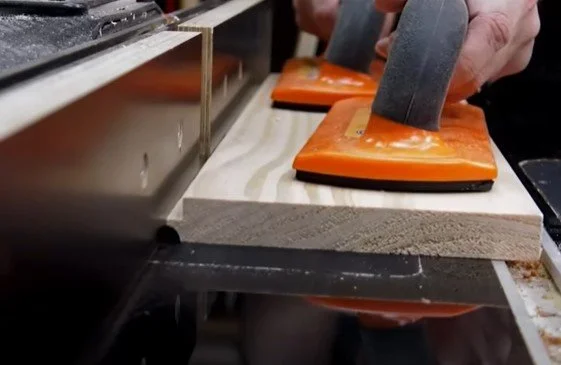
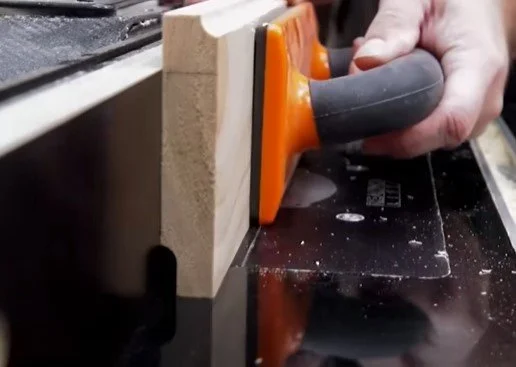
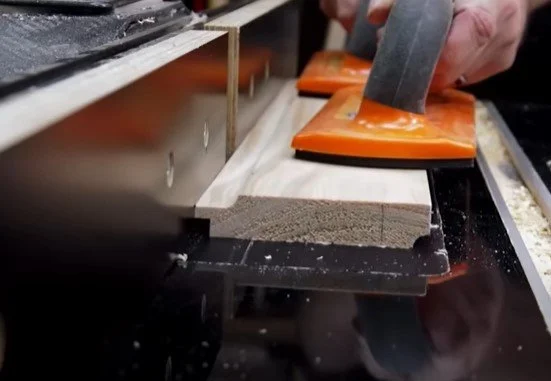
Using Push Blocks: It's not always practical to use double-sided tape to attach a scrap of wood to help rout a narrow strip safely, as I did with the rabbet cut on frame #1. In this case, I used some good push blocks to keep my hands safe. Bench Dogs push blocks have really grippy soles, I highly recommend them.
Rabbets: Don't forget to add rabbets to your frame designs to support the glass and backer-boards. I make mine about 3/8" deep with a 1/4" wide over-hang.
Finishing Touches: You can apply the same finishing touch techniques to this frame.
Frame 3: Inlay Techniques
This third frame introduces another technique- inlay.
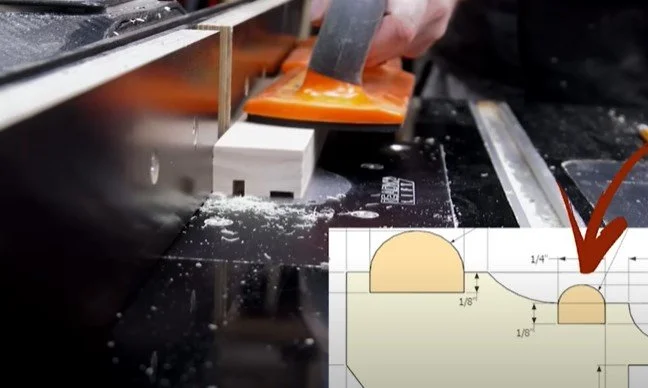
Create Thicker Stock: For this one I needed stock thicker than 3/4". I made it myself by gluing two boards together, then ripping them to the final thickness of 15/16" on the table saw. You can see my laminated board, as I cut the first groove for the inlays. I make it 1/8" deep to give the glue some room so it won't squeeze-out on the face of the frame when I put the inlays inside.
Plan Your Cuts: This frame illustrates how you must plan the order of your cuts wisely. I cut the second groove deeper to account for a cove that will be on the face of the workpiece. I originally planned to cut the cove first, then cut a 1/8" deep groove. But if I had cut the cove first, I would have removed material that I needed to keep the workpiece stable when I cut the groove. Sometimes you have to change the order of your cuts to make sure there's enough meat on the table for the next one. I always draw my profile on paper, and imagine how I am going to make each cut, and what's going to support the workpiece.
Apply Pressure Wisely: As I use a core box bit to cut an elongated cove over the narrower groove, I have to also be sure I apply pressure near the top of the workpiece, where the flat portion is against the fence. Otherwise I risk rocking the lower half toward the bit, spoiling the cut.
I might have even made the final, small cove cut earlier, right after I cut the two inlay grooves. As it is, there is little support on the bottom of the workpiece. So again, plan ahead for best results.
Finalizing the Frame: I chamfer the back on this frame as well. I like a little shadow between the back of the frame and the wall. Finally, I cut the last rabbet for the glass and backer boards.
The two inlays are created with a pair of roundover bits. I needed thinner stock for this, so I ripped a board to about 2" wide, then ran it on edge through the table saw to re-saw the thickness. In the end I created a 1/2" and a 1/4" bull-nose, which I added some color to before I glued them into their slots on the finished frame.
Tips for Stunning Frames
Contrasting Colors: I like to add contrasting colors to my frames. This can be done by combining different kinds of wood, or by using stains or dyes. If I go the latter route, I always apply a pre-color conditioner. My favorite, by far, is made by Charles Neil. Best on the market.
Glue Application: Of course, you want to apply stain before you glue your layers together I try to keep my glue surfaces stain-free, but it's not critical. Glue will bond to a stained surface. Just don't apply the final clear finish yet. When it comes time for glue-up, apply it sparingly. You don't want a bunch of squeeze-out. These joints aren't structural, you only need enough glue to hold the layers together. Sometimes it can be difficult to clamp them together. I find that these Bandy-Clamps from Rockler do a good job on a lot of the more complex profiles.
Miter Cuts: A good blade is important for cutting accurate miters. I have been using Ridge Carbide blades for about a year now, and love them. I think it's every bit as good as a Forrest. Best blade for the money, hands down.
Conclusion
The techniques covered here will give you confidence to craft complex picture frames using just a few common router bits. I hope you feel inspired to experiment with your own designs! For those interested, I've provided detailed drawings of ten favorite profiles available for free download in our project plans section—available for a limited time. Happy framing!
Picture Frame Drawings: Plans in my shop
Bench Dogs Push Blocks: http://amzn.to/2yEQI6W
Rockler Mini-Miter Sled: http://amzn.to/2zoy0NZ
Charles Neil Pre-Color Conditioner: http://www.cn-woodworking.com/cn-pre-color-conditioner/
Ridge Carbide Saw Blades (Use coupon code SNWJ10): https://goo.gl/z8TP0k
Video about making built-up crown mouldings: How to make ANY moulding with REGULAR...
Video about making curved mouldings: How to make CURVED mouldings and trim...

