ELECTRIC HAND PLANERS: TIPS AND TRICKS
I often find myself surprised by the popularity of electric hand planers. Growing up, I only saw these tools used for specific tasks like installing doors or during rough home remodeling. Furniture makers and cabinet shops? Not so much.
Nowadays electric hand planers are extremely popular; especially outside the United States. With this uptick I have seen some sketchy practices—like a person using one while holding a piece of wood with their bare feet. It’s essential to remember that, while handy, this tool can be extremely dangerous. After all, what gets cut away cannot be put back.
Despite the risks, when used correctly, an electric hand planer can be an excellent alternative to a power jointer. This is especially true if you are looking to flatten cupped or warped boards without the budget or space for larger machinery. Let’s dive into proper usage and techniques to make the most of this versatile tool.
Safety First
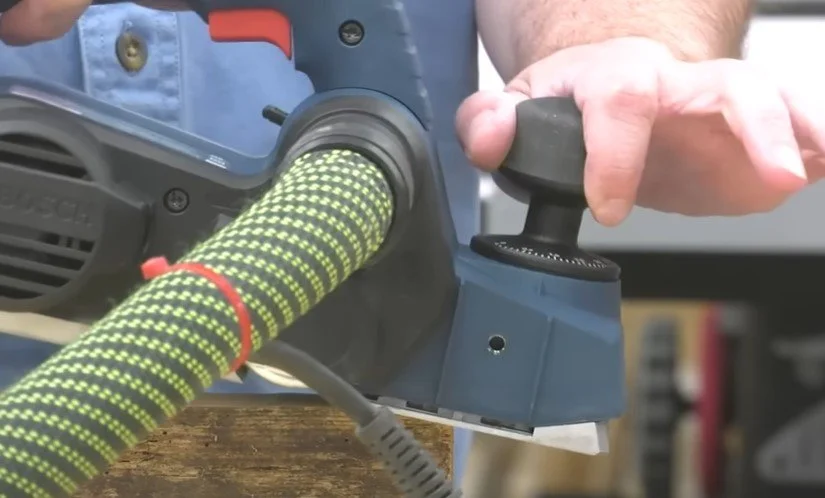
Before we get into techniques, let’s cover safety. Electric hand planers feature a two-piece sole. The back plate is fixed, while the front plate can be adjusted to set the depth of cut. Many models have mounting points for attaching a fence, dual dust ports, and a rear kickstand to prevent the blade from touching your workbench.
Key Safety Tips:
Always keep both hands on the tool while it’s running. But be careful not to turn the knob as you cut because it will change the depth.
Watch your hands and clothing—avoid loose items that could get caught in the blade.
Wear safety glasses and hearing protection.
Be cautious of your surroundings, especially when working with long boards.
Remember, releasing the trigger doesn’t stop the blades immediately, so maintain a safe distance until you’re sure it’s safe.
How to Use an Electric Hand Planer
Electric planers are designed for forward strokes, not back-and-forth movements. To get started:
Adjust the Depth: Begin with a shallow cut to understand how the tool reacts to the material.
Avoid Snipe: This common issue can spoil your workpiece. To prevent it:
Start with the front platform firmly on the workpiece.
Shift pressure to the rear as you exit the cut to avoid the tool tipping.
Planing the Edge of a Board:
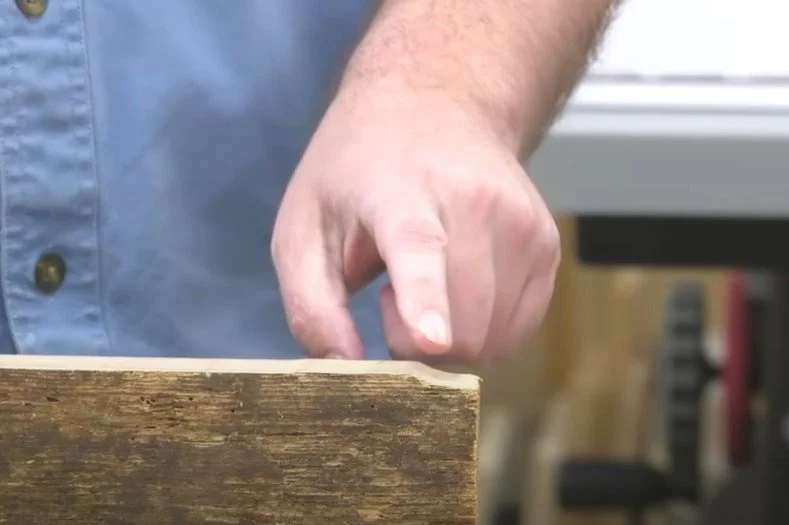
If you need to straighten a crowned edge, start with a shallow cut at the center and gradually make longer passes outward.
For a hollow edge, begin with cuts on each end, working toward the center.
Tackling a Cup or Twist
Let’s move on to dealing with a cupped board.
Flattening a Cup: Work on the crowned side, taking light passes from the high center down to the edges. Check your progress frequently with a straight edge to avoid over-removing material.
Correcting a Twist: Use winding sticks—two straight strips of wood—to check for parallelism. Plane down the high corners while feathering cuts across the surface to maintain a flat face.
Achieving Flat and Parallel Faces
Once you’ve flattened one side, you might wonder about making the opposite side parallel. While it’s possible to mark and plane it down using a gauge, this technique can be more complex with an electric planer than with hand planes.
For the best results, consider using an electric hand planer in conjunction with a thickness planer. This combination allows you to get one side reasonably flat, then finish the job with the thicknesser for parallel faces.
Conclusion
Electric hand planers can be invaluable in a woodworking shop, offering flexibility and efficiency, particularly when space or budget constraints exist. While they may not replace a dedicated power jointer, mastering these techniques can help you unlock the full potential of your electric hand planer.
So, the next time you reach for this tool, remember the safety guidelines and techniques we’ve discussed, and enjoy the benefits of precise, efficient woodworking!
ISOtunes is a small, family company in Indiana that makes Bluetooth hearing protection for the shop, yard and everywhere else. (Support a small business and save 10% when you use this link, or the discount code: STUMPY) https://shop.isotunes.com/stumpy #ISOtunes #ISOtunesSport @isotunes @isotunessport
My hand tool collection includes premium tools from Bridge City Tool Works: https://bridgecitytools.com/
Please help support us by using the link above for a quick look around! (If you use one of these affiliate links, we may receive a small commission)


