COMMON WORKSHOP DUST COLLECTION MISTAKES
Over the years, I’ve made a lot of mistakes in my woodworking shop, but few have cost me as much as those involving my dust collection system. A lot of these mistakes stemmed from my desire to save money, while others were simply due to ignorance and inexperience. In this post, I’ll share some of the most common dust collection mistakes that woodworkers make—many of which I had to learn the hard way. I’ll be throwing a lot of facts at you, but at the end of this article I’ll provide some references if you want to really dig into the science behind workshop dust collection.
Shop Vacuums
Like many of you, I started out with a shop vacuum. It worked pretty well on smaller tools, such as when I connected it to the little port on the fence of my router table or to my random orbit sander. But it was useless on larger tools like the table saw.
That’s because a shop vac moves a limited amount of air at high pressure. When you can get the end of the hose right next to the chips, it does a decent job of collecting them. But as you move the hose away, it loses the ability to collect chips effectively.
A shop vac works well on a router table fence because it can suck the chips right off the bit. But the dust ports on most other machines are far from the source of the dust.
While there is a place for shop vacuums in a workshop—such as for handheld power tools—they have limited value for dust collection on most machines.
Dedicated Dust Collectors
Eventually, I transitioned from a shop vacuum to a single-stage dust collector, thinking I had it made.
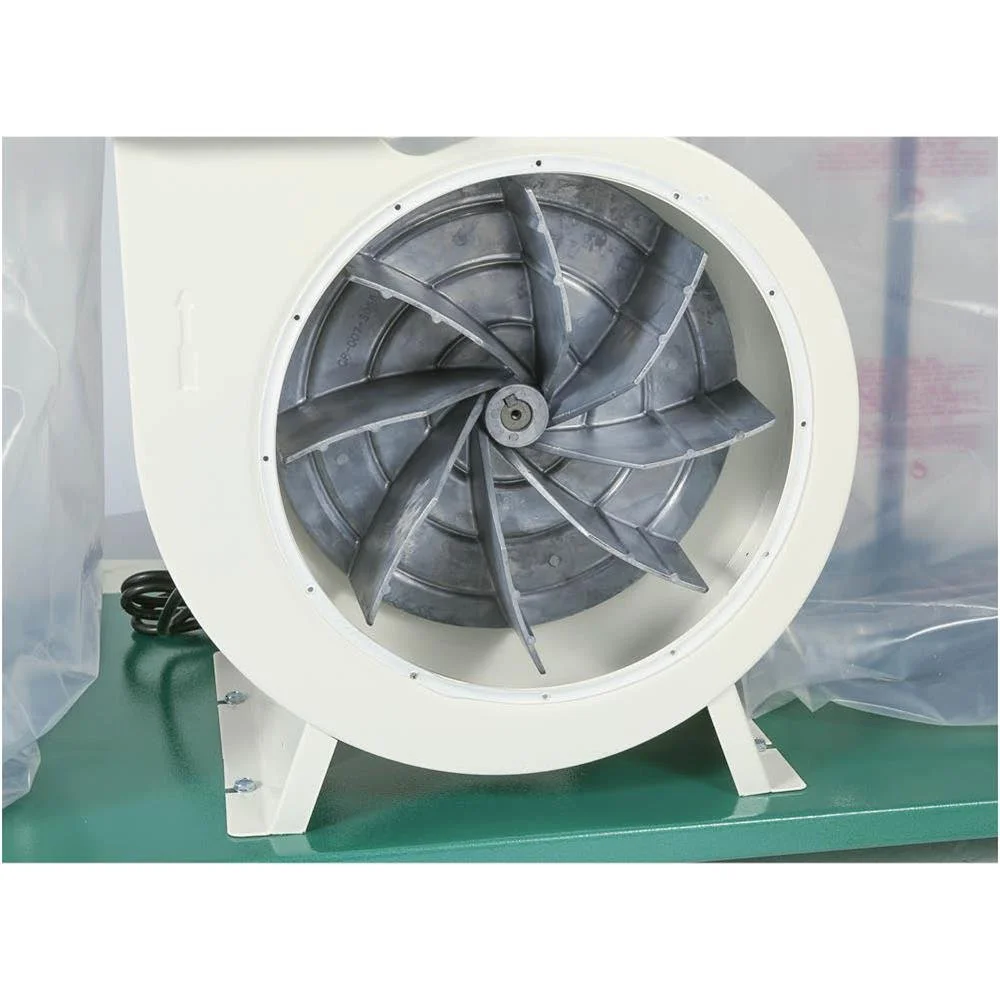
Impeller-driven dust collectors like this one work differently than shop vacs. While shop vacs move a little air at high pressure, a dust collector moves a lot of air at low pressure.
How much air? A Harbor Freight collector boasts the ability to move 1500 CFM. And that, like the airflow claims made by every single-stage dust collector brand, is mostly a stretch. They measure the system's airflow with no filters attached, no collection bags, no ductwork, no hoses or blast gates, and no machines connected.
So, how much air will it really move in an actual woodworking setting? If you avoid making other mistakes we’ll discuss, your single-stage collector might move enough air to collect the chips you'd normally sweep up with a broom. But it won’t do much to capture the fine dust in the air, and it won’t keep your lungs clean. It may, however, help keep your shop clean. If you understand and accept those limitations—and don’t do anything to further restrict the airflow—a small-shop woodworker can get by with a single-stage collector.
However, if you want more than just cleaner floors, consider a cyclone-style dust collector. This doesn't mean slapping a cyclone-shaped attachment onto your single-stage collector. Adding a cone to an underpowered system won’t make it more powerful. Aftermarket cyclone attachments help with dust separation after the dust has been collected—they don’t increase the suction power of a single-stage system.
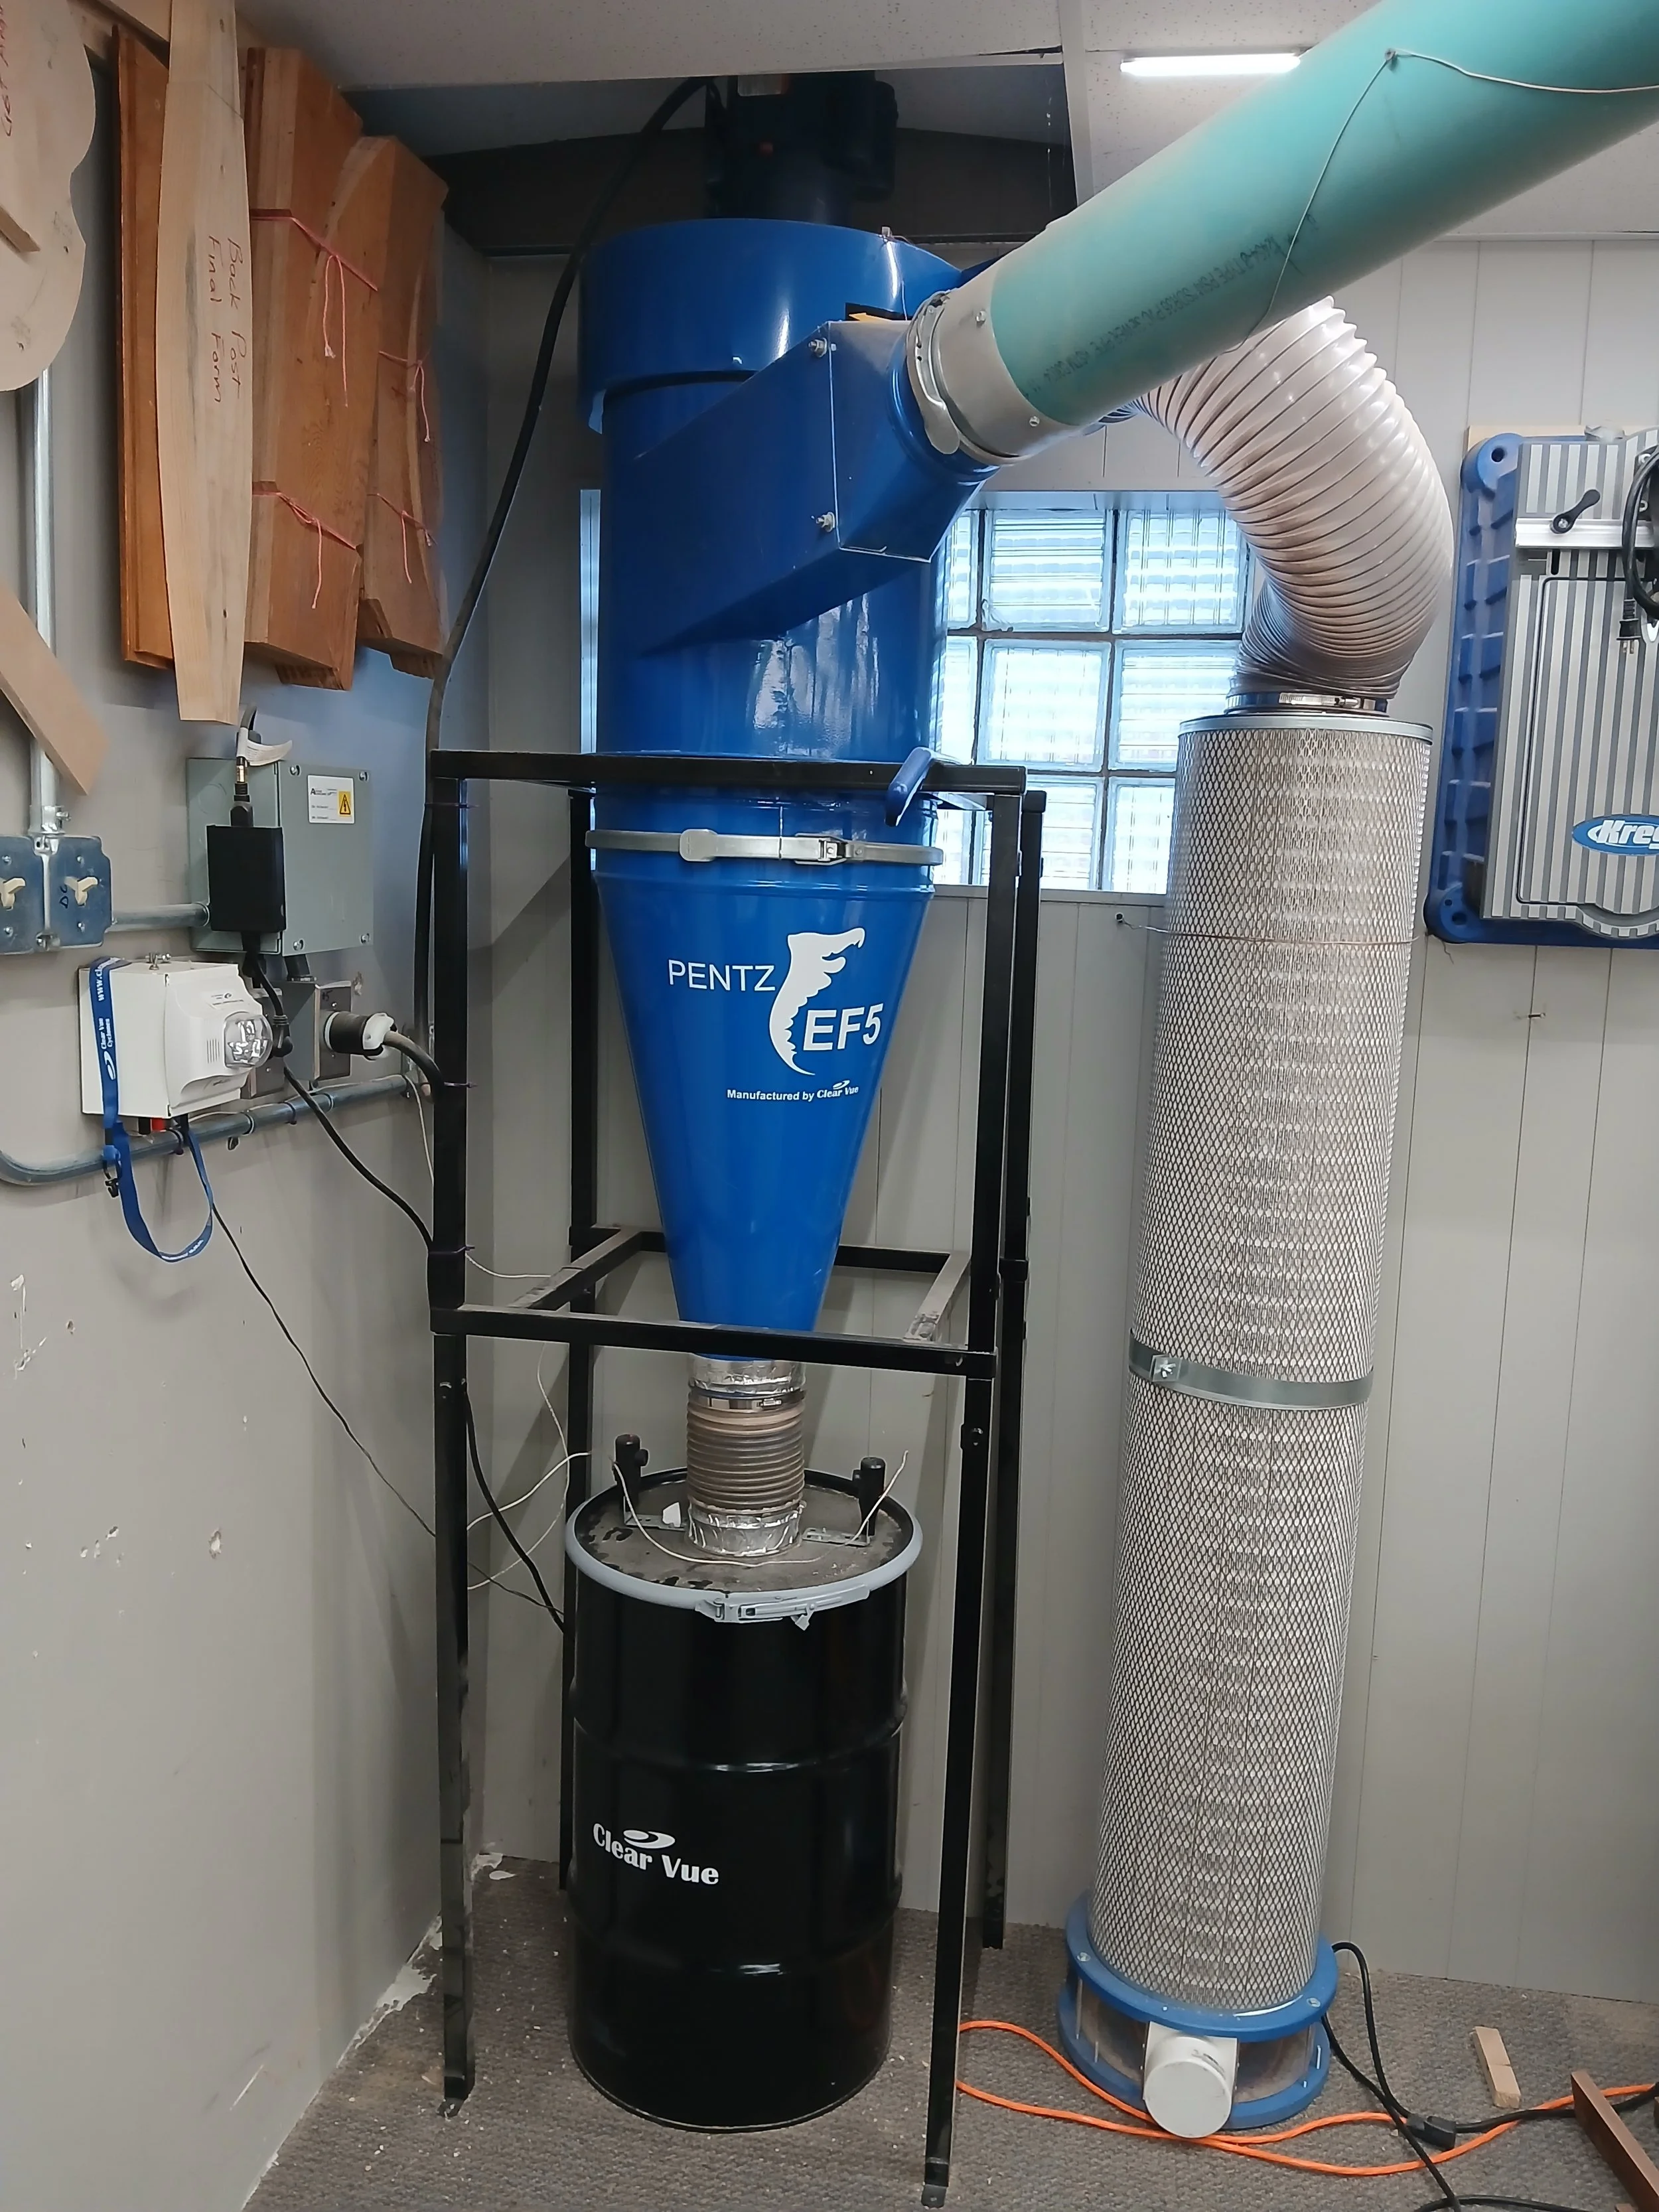
Don’t confuse an aftermarket cyclone add-on with a well-designed cyclone system that features a large impeller and a powerful motor. Clearvue systems—one of which is in my shop—move far more air than any single-stage system on the market. That allows me to connect more complex ductwork and more machines. It is a dust collection system that can run throughout the shop, not just a chip collector that can service one or two machines.
Ductwork
The biggest mistake I made early on was thinking I could connect a bunch of ductwork to my underpowered system.
It began with my shop vac. I bought a kit that included 2-1/2 inch piping and fittings, along with blast gates. I ran a main duct along the wall that branched out to various tools, just like a big-shop ducting system—or so I thought.
I quickly learned that every foot of duct, every inch of hose, every tee, wye, and elbow increased the resistance to the precious little airflow my vacuum produced. In the end, I ended up with a lot of clogs and had to rip it all out.
I’m not saying you can’t make a simple shop vac ducting system with a few blast gates, but shop vacuums work best when attached directly to the tool with no more than a few feet of hose.
What about single-stage collectors? Yes, you can attach ducts to them, but the same principle applies. The more ducts, hoses, and fittings between your tool and your dust collector, the more airflow you lose and the less effective the dust collection will be. So, keep it short and simple.
What about ducting material? Because airflow is key, you want ducts with the smoothest inner walls possible. PVC has the lowest friction surface of any ducting material—even metal. On the other hand, metal ductwork often features smoother transitions between the pipe and the fittings, which is a big factor too. If you have a complex system with many fittings, high-quality steel ductwork designed specifically for dust collection is your best option. It’s also easier to disassemble and modify than PVC.
I learned this the hard way: I once built a complex system using HVAC pipe from the hardware store because it was much cheaper than 6-inch PVC. It was a disaster. HVAC pipe is designed for air flowing away from the blower, not toward it. All the seams are backwards, creating ridges that catch chips and slow airflow. The seams aren’t well sealed, either. The system leaked like a sieve unless I covered it in tape. In the end, I tore it all out and lost a ton of money.
If you can’t afford high-quality steel dust collection ductwork, PVC is a more affordable option. It’s readily available in 4-inch diameters and can be found in 6-inch with some searching.
Next comes duct sizing.
You must size your ductwork to match the dust collector you own. If the ductwork is too small, it will restrict airflow and suction. If it’s too large, it will create too much resistance, and the airspeed will drop, causing chips to pile up inside the ducts.
Without getting into the math, a single-stage dust collector is best connected to 4-inch ductwork, while a powerful cyclone collector can handle 6-inch or larger ductwork.
But duct size isn’t the only factor. The port on your machine is a bottleneck. At the pressure dust collectors generate, air doesn’t compress. So, you can’t reduce a 4-inch duct or hose down to a 2-1/2 inch port on small machines. You can do that with a shop vac, but not a dust collector. Doing so will starve the system for air, producing minimal suction and possibly even overheating the dust collector.
On my router table fence, I do have a 2-1/2 inch port, but I also have a 4-inch port open on the underside. Together, these allow enough air to flow through the system to prevent it from overheating, but the suction through that smaller hose on the fence still isn’t as effective as it would be with a shop vacuum, which operates at higher pressure.
And forget about reducing your 4-inch hose down to the small port on a random orbit sander or another small power tool. It just won’t work. Use a shop vacuum for that.
Fittings
If you run ductwork in your shop, be careful when choosing your fittings. I’ve made this mistake several times by using too many fittings, making the system too complex with too many bends.
Air flowing through your ducts is like a car traveling through a tunnel. It moves quickly on a straight path, but slows down around curves. The tighter the curve, the more it slows. A 90-degree turn is a momentum killer.
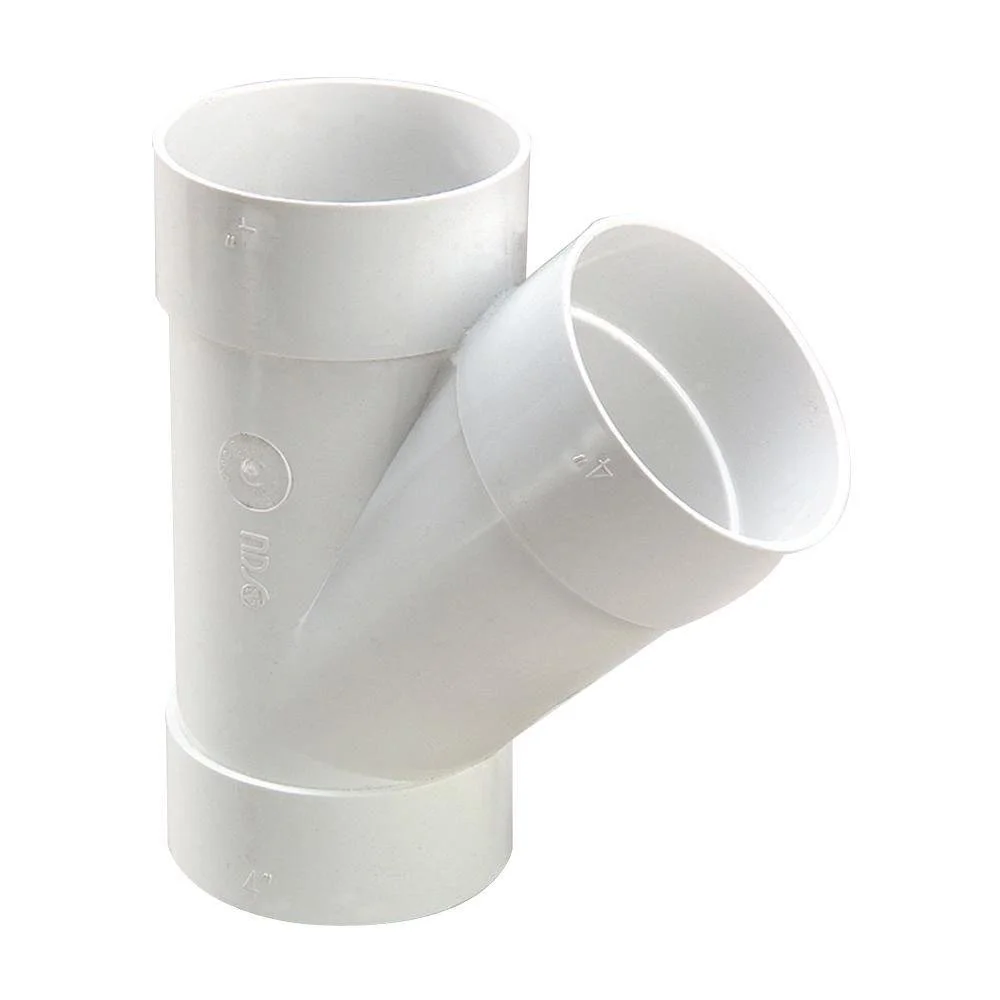
A tee fitting is a bad choice. If you must split a main line into two branches, use a wye. Likewise, avoid tight 90-degree elbows. Instead, use two 45-degree elbows with a foot or so of pipe between them to create a more sweeping curve.
Even a sweeping curve will slow airflow a bit, and several curves can add up. Not to mention, the bumps from each PVC fitting and any flex hose in the line will create additional resistance. So, keep it simple.
Blast Gates
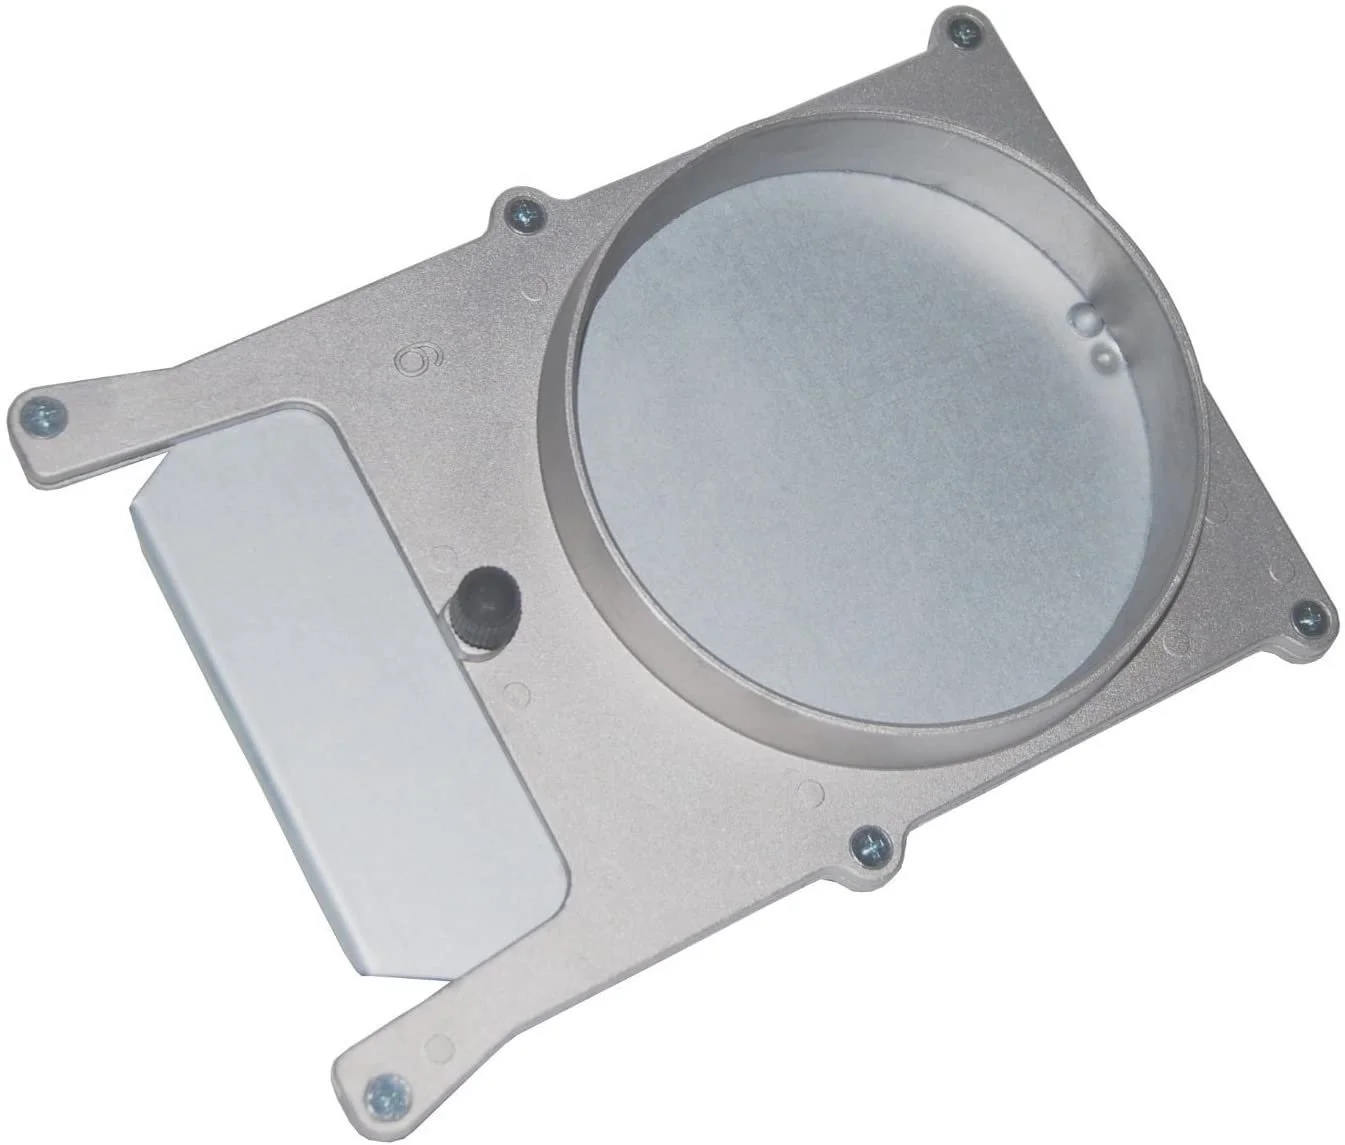
Blast gates are essential when connecting powerful systems to multiple machines. They help control the airflow. However, they can create some issues.
For example, some blast gates need to be installed so the air flows through them in a certain direction. If installed incorrectly, they’ll leak. You can usually identify these by a small screw that applies pressure to one side of the gate.
Many blast gates also accumulate dust in the slot behind the sliding portion. Over time, this dust gets packed in until the slide no longer closes fully, causing leaks. You can install the gate so the slide opens downward, allowing the dust to fall out of the slot, but this isn’t always practical. On some blast gates, the slides will fall open in this position.
Experts smarter than I am say that the more pipe between the collector and the blast gate, the more resistance in the system. They recommend keeping your blast gates near the main duct line, rather than placing them directly at each machine—even though this may be less convenient.
I’ve also been advised to use blast gates to shut off sections of my large duct system when not in use. This essentially makes a complex system behave like a simpler one. I’m not entirely sure about the science behind this, but it seems to prevent the whole system from being pressurized each time the blower turns on. Some people push back on this idea, but it works for me.
Another benefit to closing off sections of your duct system is the elimination of leakage. Every fitting, hose connection, and blast gate is a potential leak, even if you don’t realize it. Closing off portions of the system reduces potential leaks, cutting down on the number of connections.
Flex Hose
A mistake I see many woodworkers make is using way too much flex hose in their systems.
Hoses with ribs produce a tremendous amount of resistance to air flow—up to 9 times more resistance than smooth pipe. Think of the ribs as hundreds of speed bumps that slow the air and chips down. Slow airflow can’t carry chips very far.
You should use as little flex hose as possible. If you have a ducted system, run the PVC as close to the machine as possible, then use a small amount of flex hose if necessary. If you’re using 20 feet of hose, try moving your collector closer to the tool and shortening the hose. You may be surprised at the difference.
Flex hose connections are also notoriously leaky. I recommend using clamps designed for that purpose, with bridges that apply even clamping pressure over the ribs.
Dust Sweeps
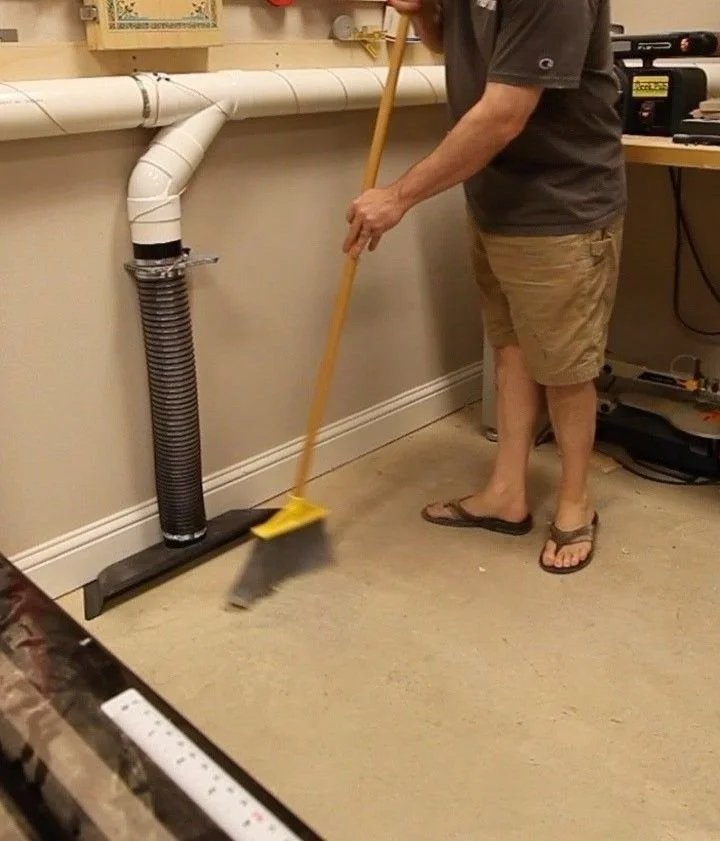
A dust sweep acts as a dustpan, sucking up everything you broom into it. I've used a vacuum wand attached to my ductwork via flex hose to clean up chips and even sweep the floor. However, I should mention that fires have been started this way.
In some documented cases, screws or other pieces of metal were sucked up and struck the steel impeller in the dust collector, creating a spark. This spark smoldered in the dust bag for hours or even days before igniting a fire. Shops have burned down from this.
One way to mitigate the risk is by attaching rare-earth magnets to the dust sweep opening to hopefully attract any metal. But I’m not sure how effective that is.
A trashcan separator or cyclone system will remove the chips and metal from the air before they reach the impeller. We'll talk more about those soon.
Filters
One of the most misunderstood parts of dust collection is the filter. Most people think of their dust collector’s filter the same way they think of their furnace filter: the finer the filter, the better it keeps fine dust out of the air.
This is true, but the finer the filter, the more it restricts airflow, and thus reduces suction. The finer the filter material, the fewer pores there are to allow air to escape, which in turn means less airflow.
The solution is a canister filter. Canister filters are packed with pleated filter media, providing more surface area and the ability to filter out finer dust. They also improve suction by not restricting airflow as much as a traditional filter bag. In short, a canister filter will keep your air cleaner and your system more efficient.
Separators
I’ve tried trash-can style separators over the years, including the plastic lid type and the baffle style. They help keep all but the finest dust from reaching your filters, extending the time between filter cleanings and increasing the lifespan of your filters.
But the downside is they reduce airflow. Some can reduce airflow by more than 50%. If you already have an underpowered single-stage system, you can’t afford to lose any airflow—especially if you plan to hook up some ductwork.
I'm not against separators entirely. There are mini cyclone attachments on the market that some people love. But keep in mind that everything you attach to your dust collector will reduce its airflow to some extent. If you decide to add a separator, you may need to compromise elsewhere—like simplifying your ductwork or shortening your hoses.
Bottom Line
I’ve thrown a lot of information at you, so let’s quickly sum it all up:
Shop vacuums are good for tools with small ports, while dust collectors are better for tools with 3-inch or larger ports.
Single-stage dust collectors are best for collecting the chips you’d normally sweep up with a broom. Cyclone collectors offer much better overall dust collection.
Keep your ductwork simple. Use as few fittings as possible, avoid tight bends, and limit the use of flex hose.
Size your ductwork to match your system—4 inches for most single-stage collectors.
Don’t starve your system for air by reducing a 4-inch line to smaller than 3 inches.
Keep your connections sealed and your blast gates clean to prevent leaks.
Consider upgrading to a canister filter to improve airflow and suction.
Be cautious about using separators, as they can reduce airflow.
If you want to learn more about the science behind dust collection, I highly recommend checking out BillPentz.com—an amazing and comprehensive resource on the subject.
-Subscribe to our e-Magazine.
-Check out our project plans.

